Capture
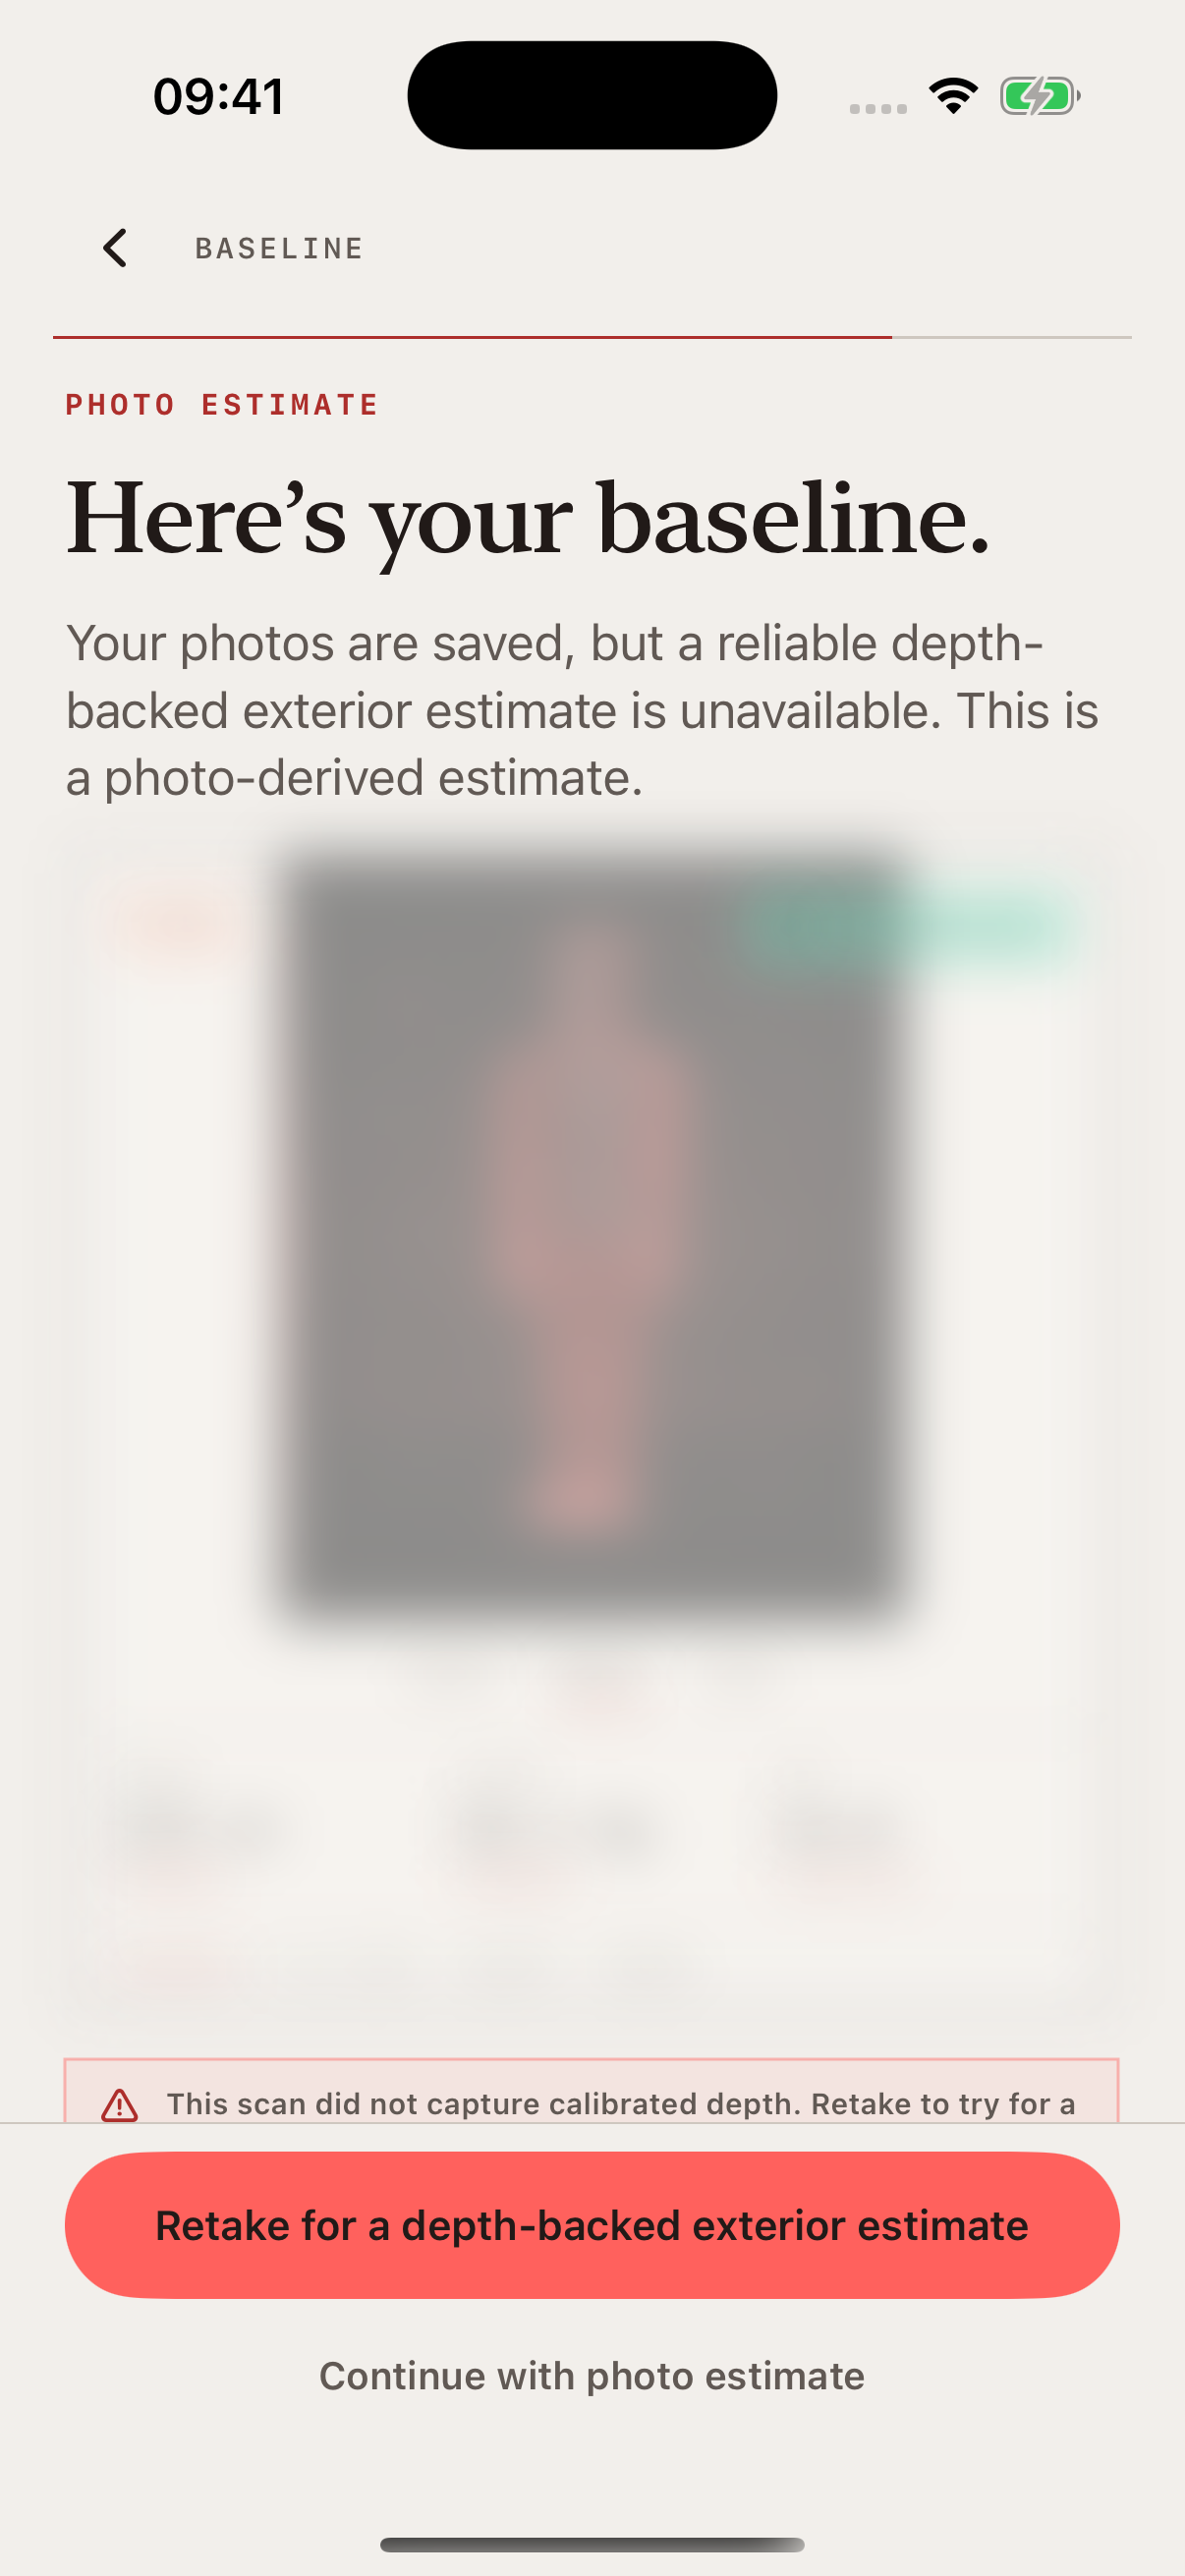
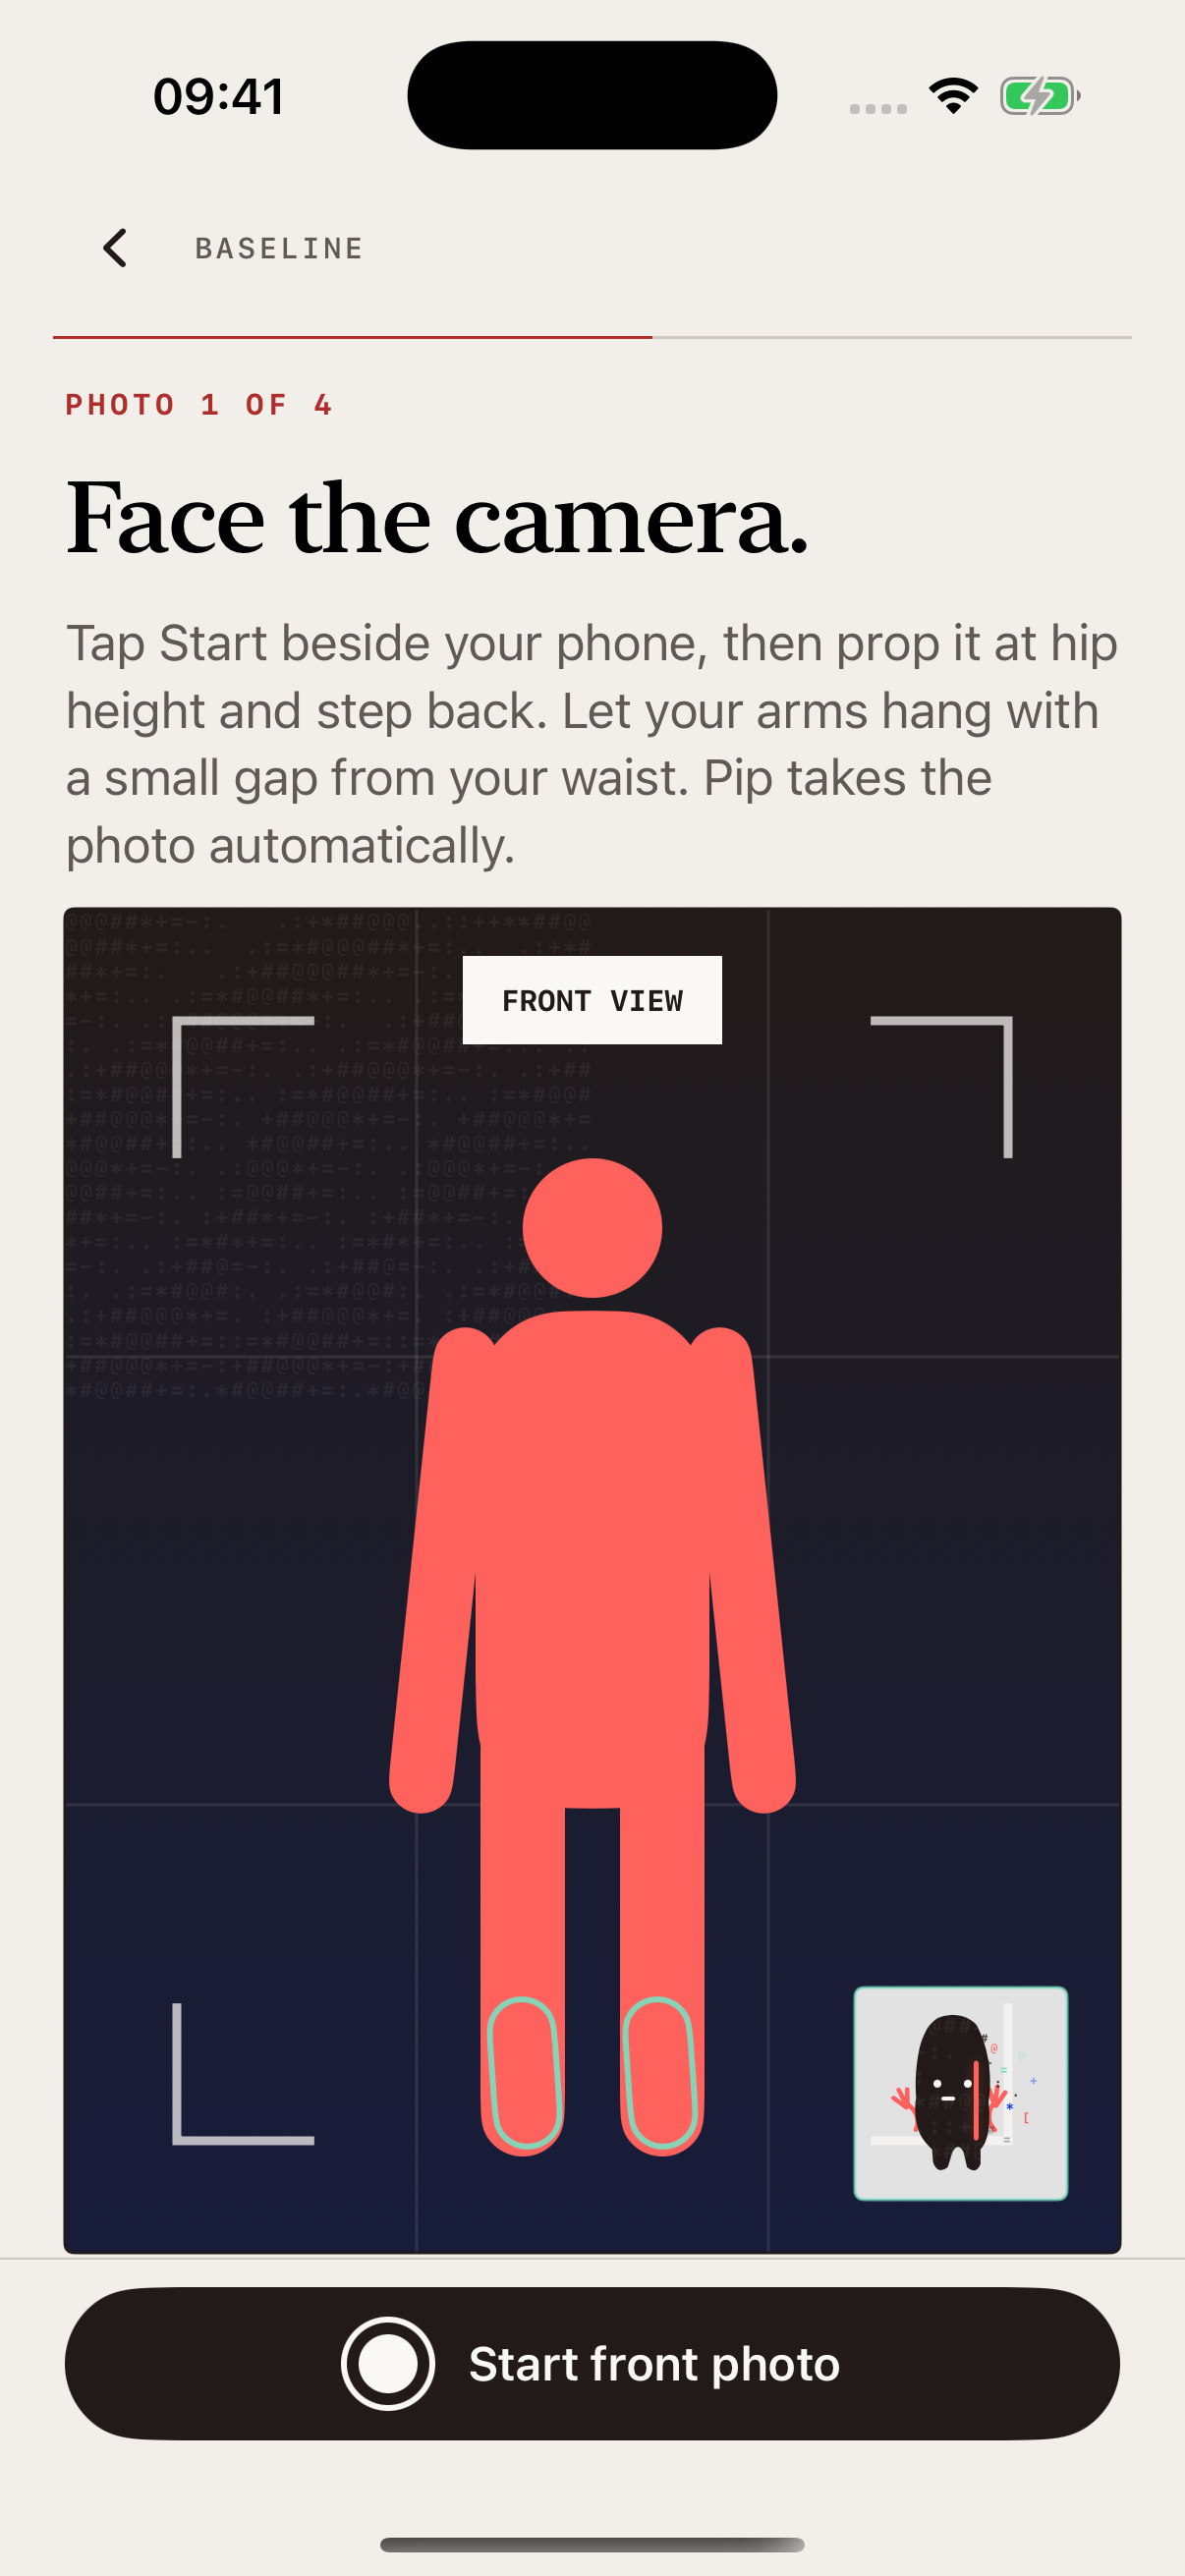
Pip guides front, left, back and right photos and checks framing before the set is accepted.
HOW PIP WORKS
A clear walkthrough of the capture, analysis, fitting and repeat-comparison process behind Body Story.
THE FULL PROCESS
Pip separates capture quality, visual analysis, anatomical fitting and longitudinal comparison instead of presenting the result as a camera measurement.
Pip guides front, left, back and right photos and checks framing before the set is accepted.
The selected views are prepared for analysis and handled according to the consent shown in the app.
Multi-view visual analysis considers visible exterior shape across all four views.
Personalised anatomical fitting creates the rotatable 3D body-shape estimate.
The completed result is saved as a Body Story chapter with its supporting record.
A compatible repeat check-in can be compared with the baseline to look for possible change.
GUIDED CAPTURE
Each view gives the fitting process a different part of the visible exterior shape.
01 / 04
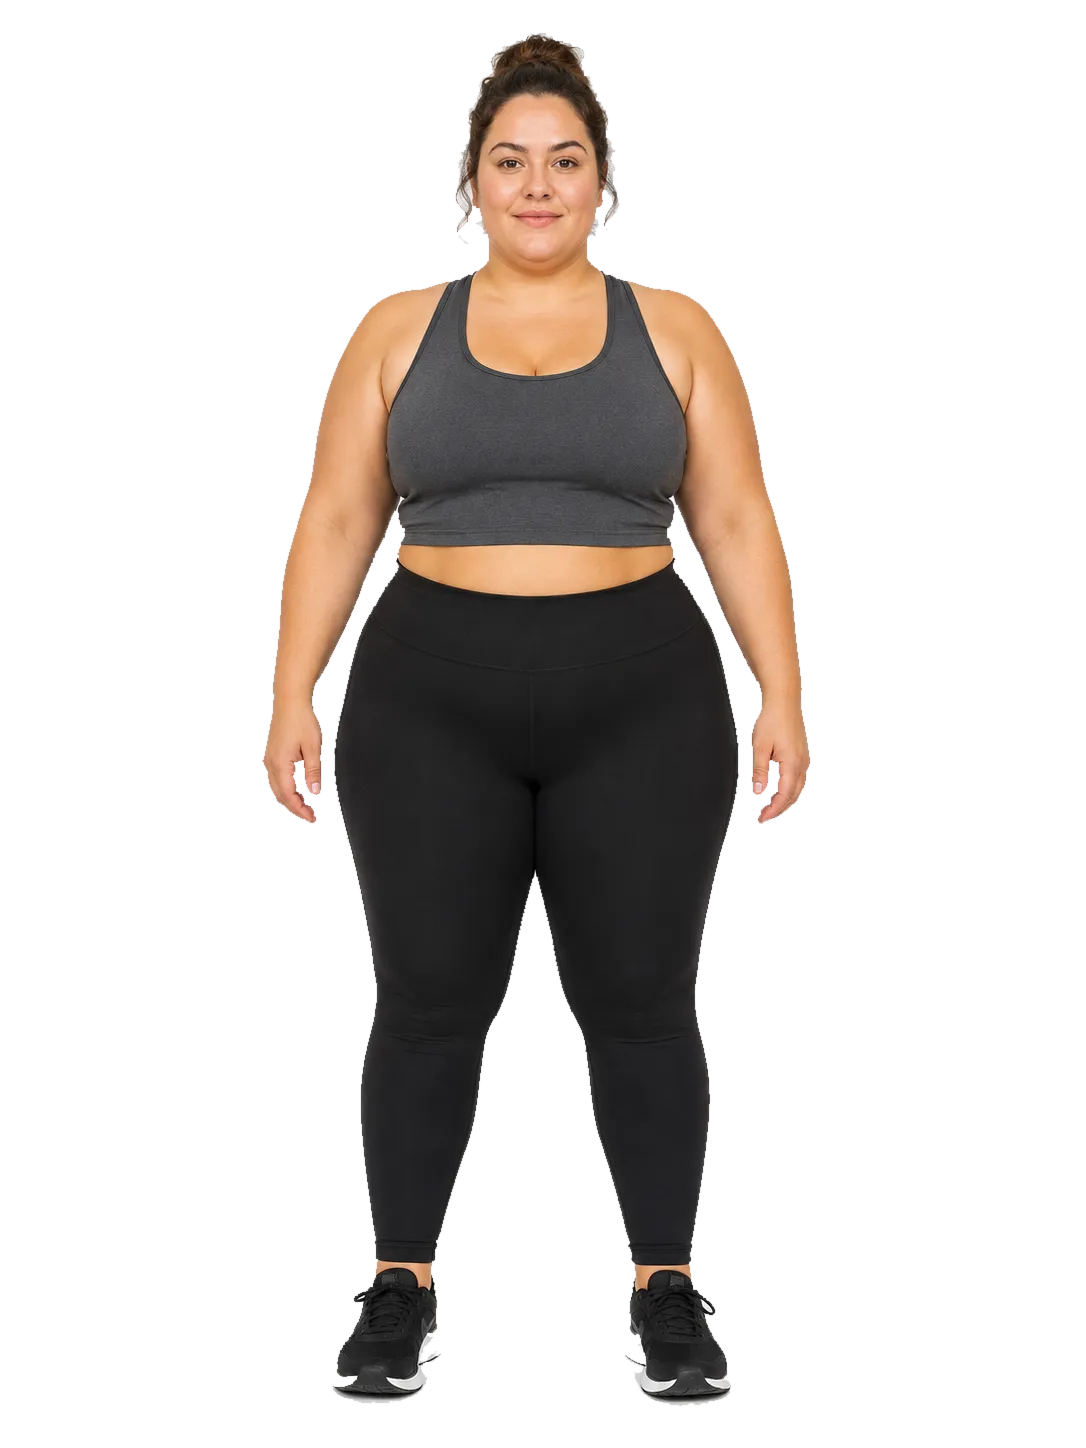
Full body in frame. Front angle ready.
METHOD + LIMITS
Clothing, pose, lighting and capture consistency can affect a photo-based result. Pip keeps the evidence and confidence information available and does not present the fitted body as a clinical scan.
Read the full methodology and accuracy notes ↗PIP FOR IPHONE
Take four guided photos and explore your fitted starting shape.